
Installation Guide
Quick Guide
- Plug the screens into the gauge controller.
- Connect the controller to your computer with USB and configure it through the CLI.
- Plug the gauge controller into the flight controller.
- Configure the flight controller UART for MSP.
- Go fly.
Detailed Guide
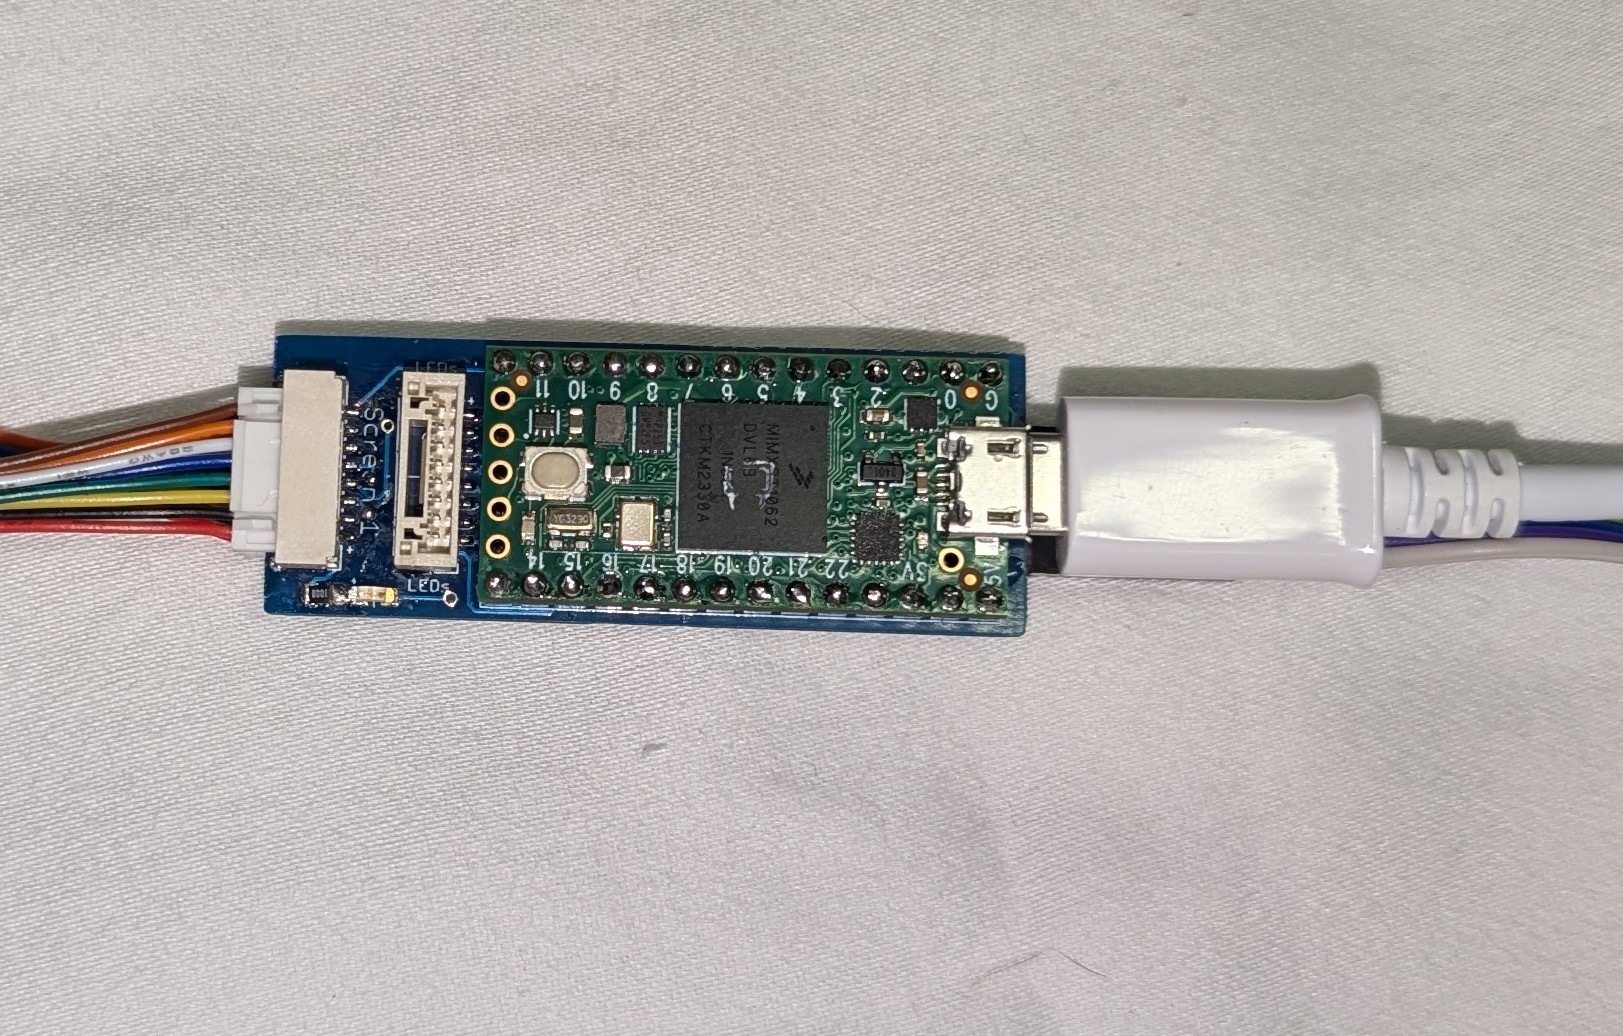
Controller Layout
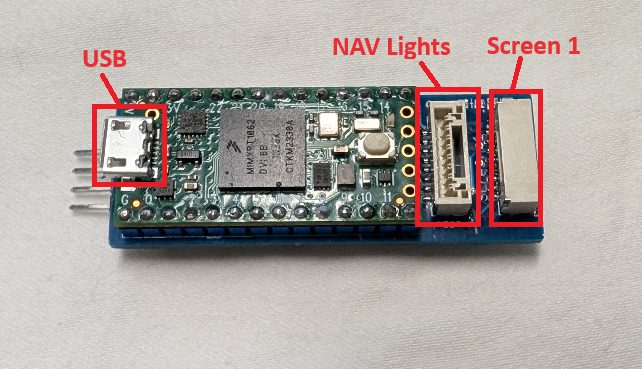
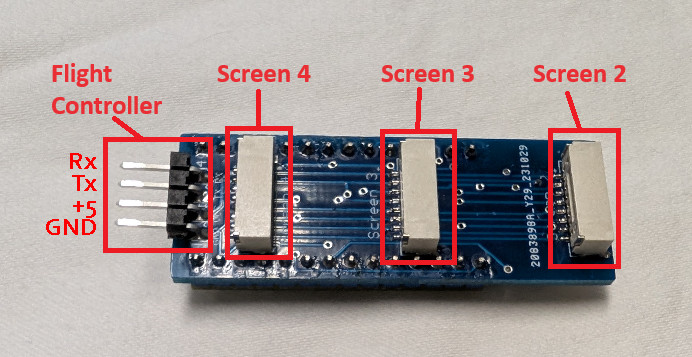
Plug Screens Into The Gauge Controller
Plug an 8 pin cable into the screen. These are GH connectors, so they click into place.
Plug the other end of the cable into the controller. You can plug in up to 4 screens, in any order and into any screen port.
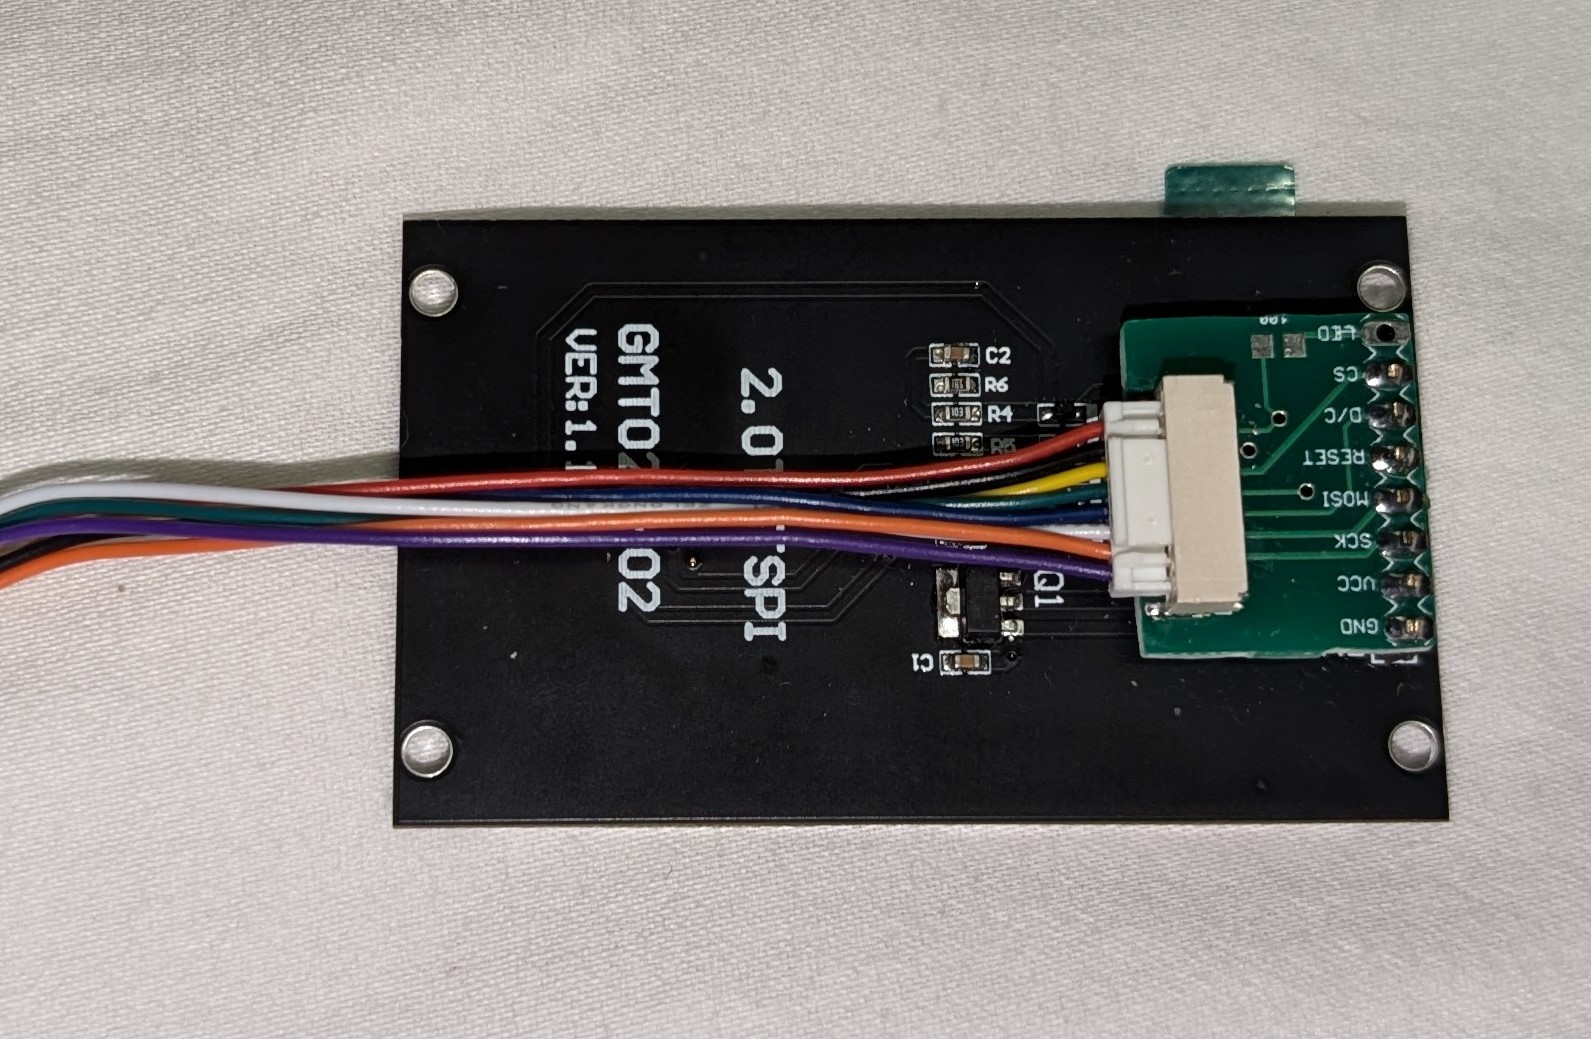
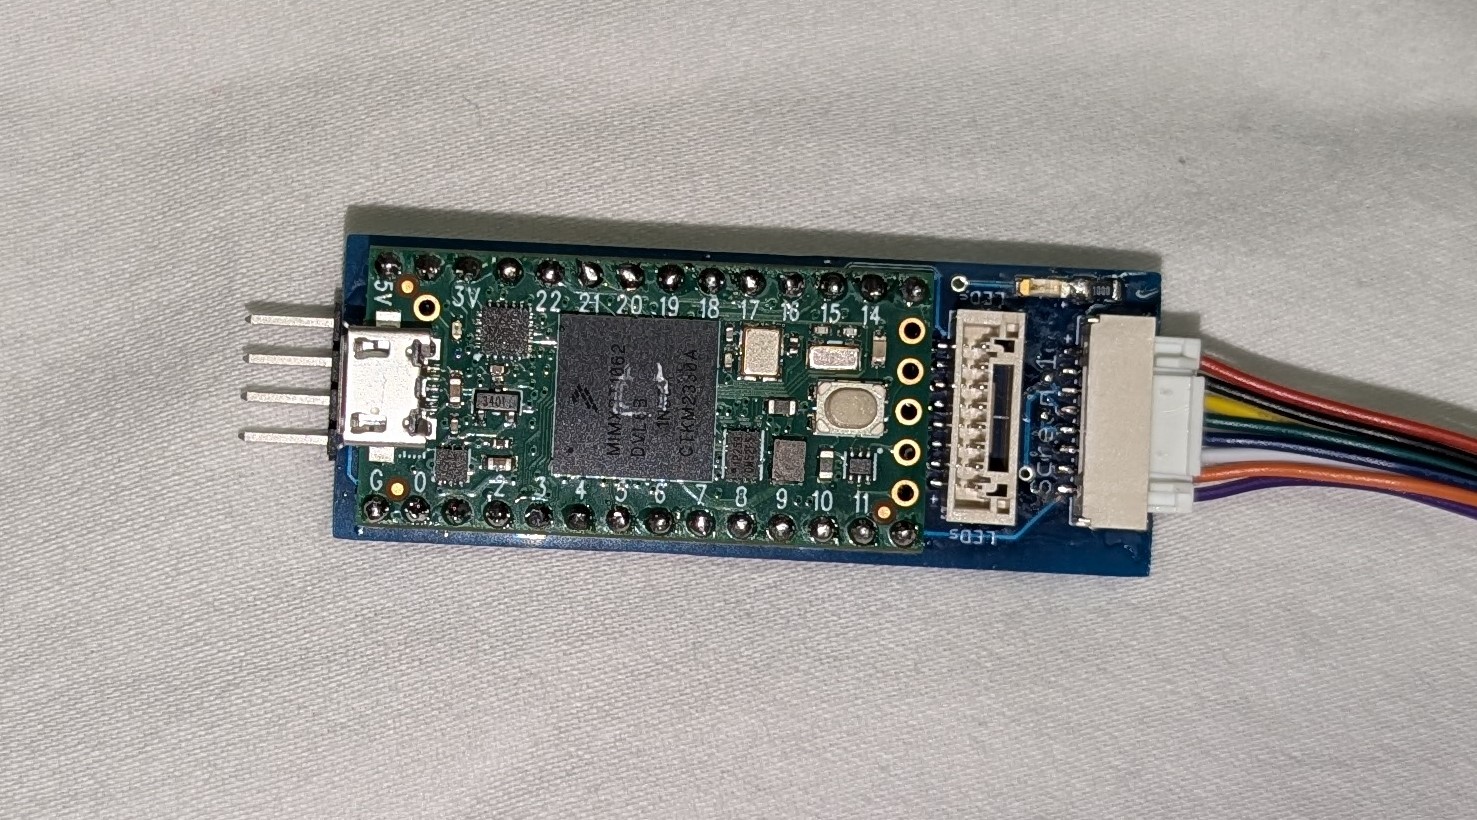
Connect USB And Open A Terminal
Plug the USB connector into the controller and connect it to your computer.
Open a terminal program such as Tera Term or PuTTY. The microcontroller has a native USB controller, so it will work with any serial speed and data format.
Use the CLI to configure the controller. Full CLI instructions are here: CLI instructions.
Input Options
MSP is the recommended input option, but the controller supports other input types. More information is available here: Input options.
Plug The 4 Pin Cable Into The Controller
The 4 pin cable connects the gauge controller to the flight controller. The pin order on the controller is GND, VCC, TX, RX. These labels are silk screened on the controller.
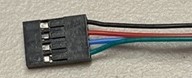
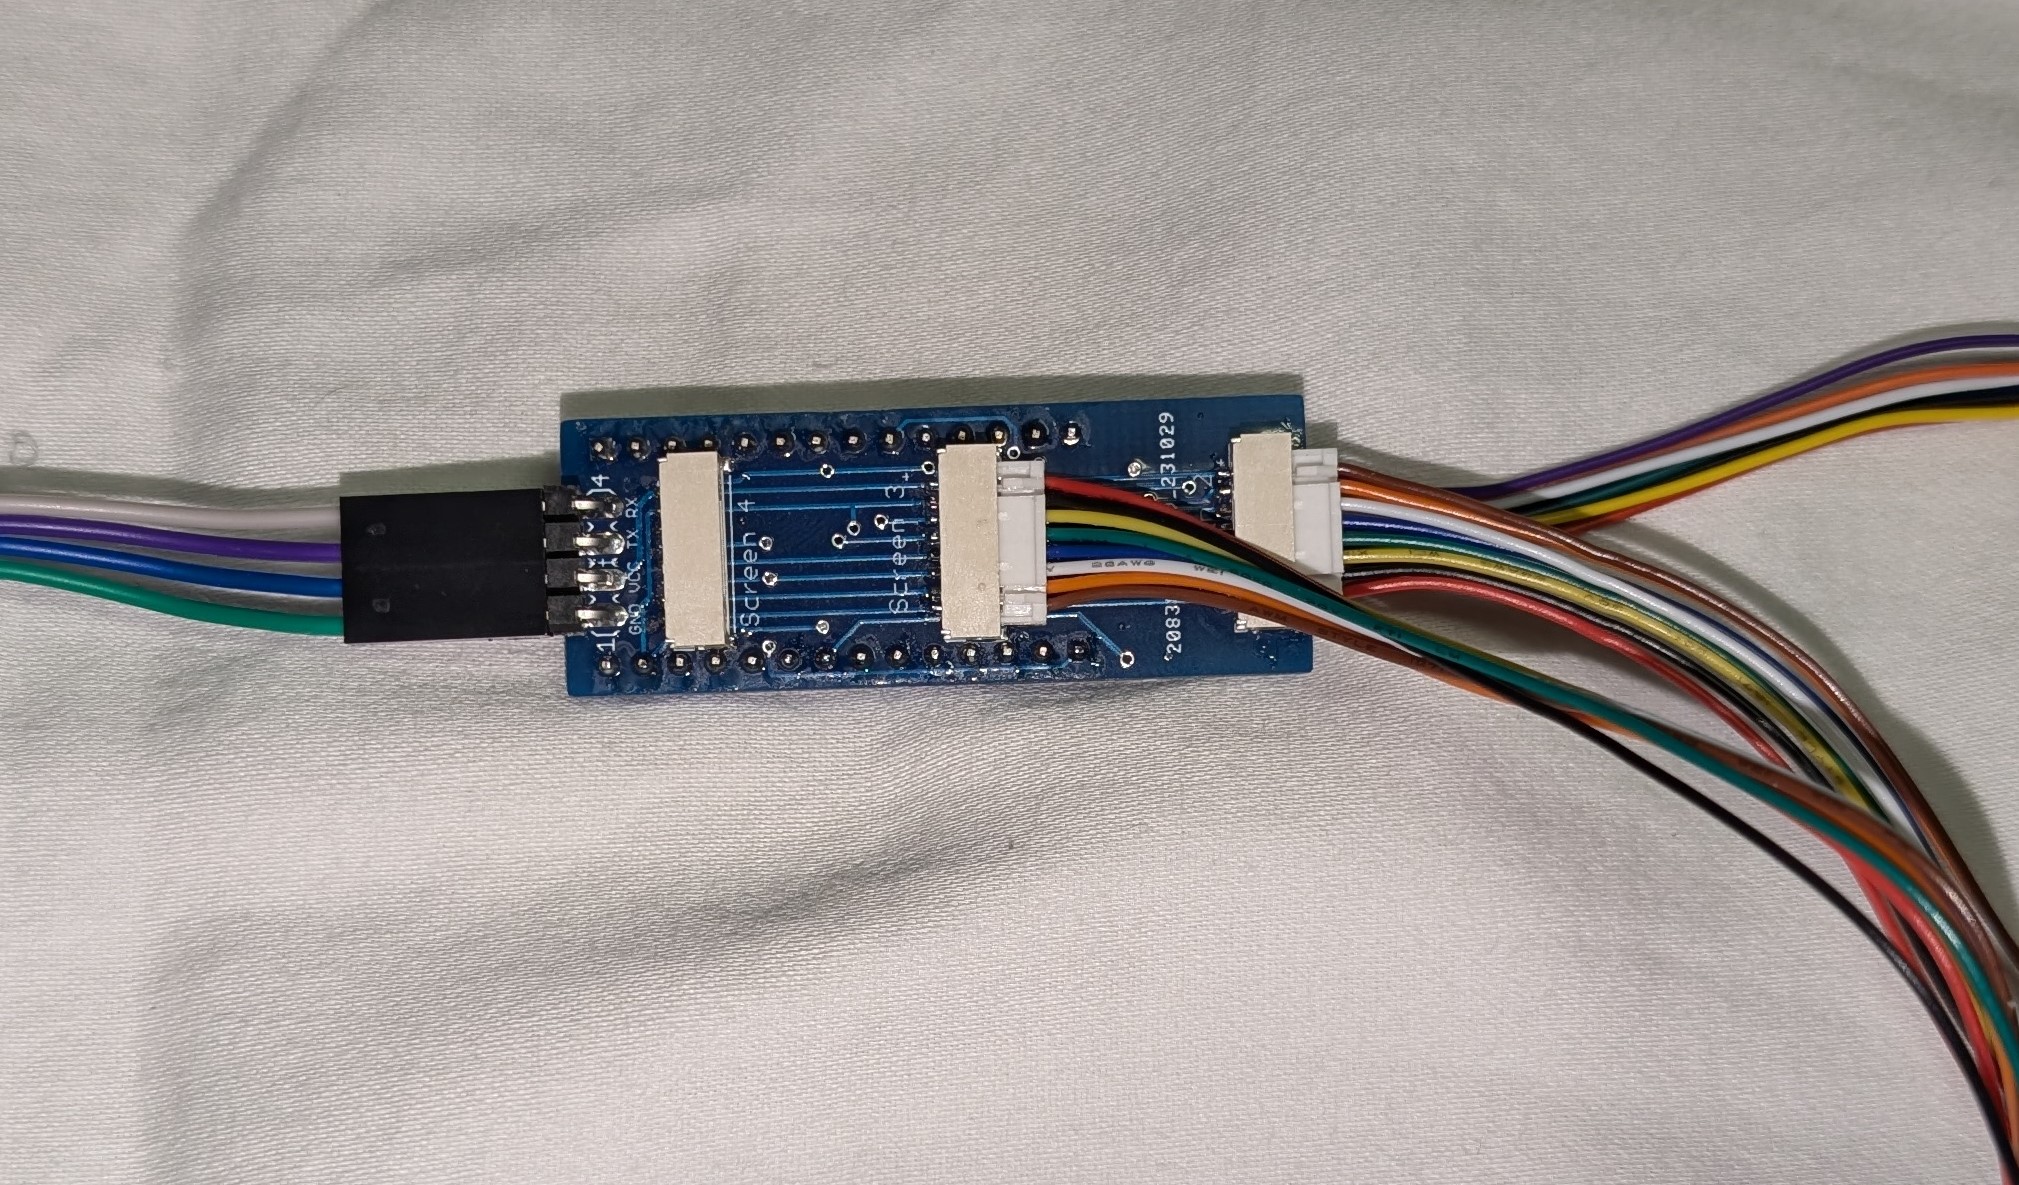
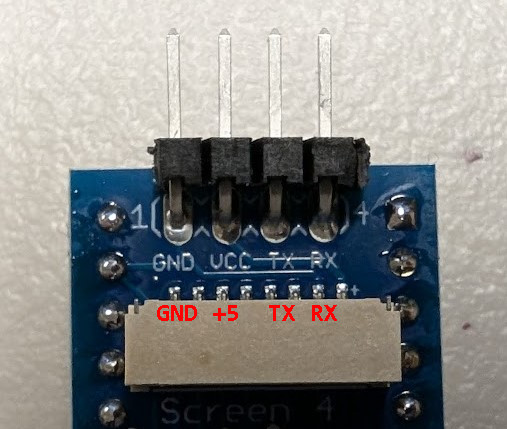
The pin order on the end that plugs into the flight controller is GND, VCC, RX, TX.
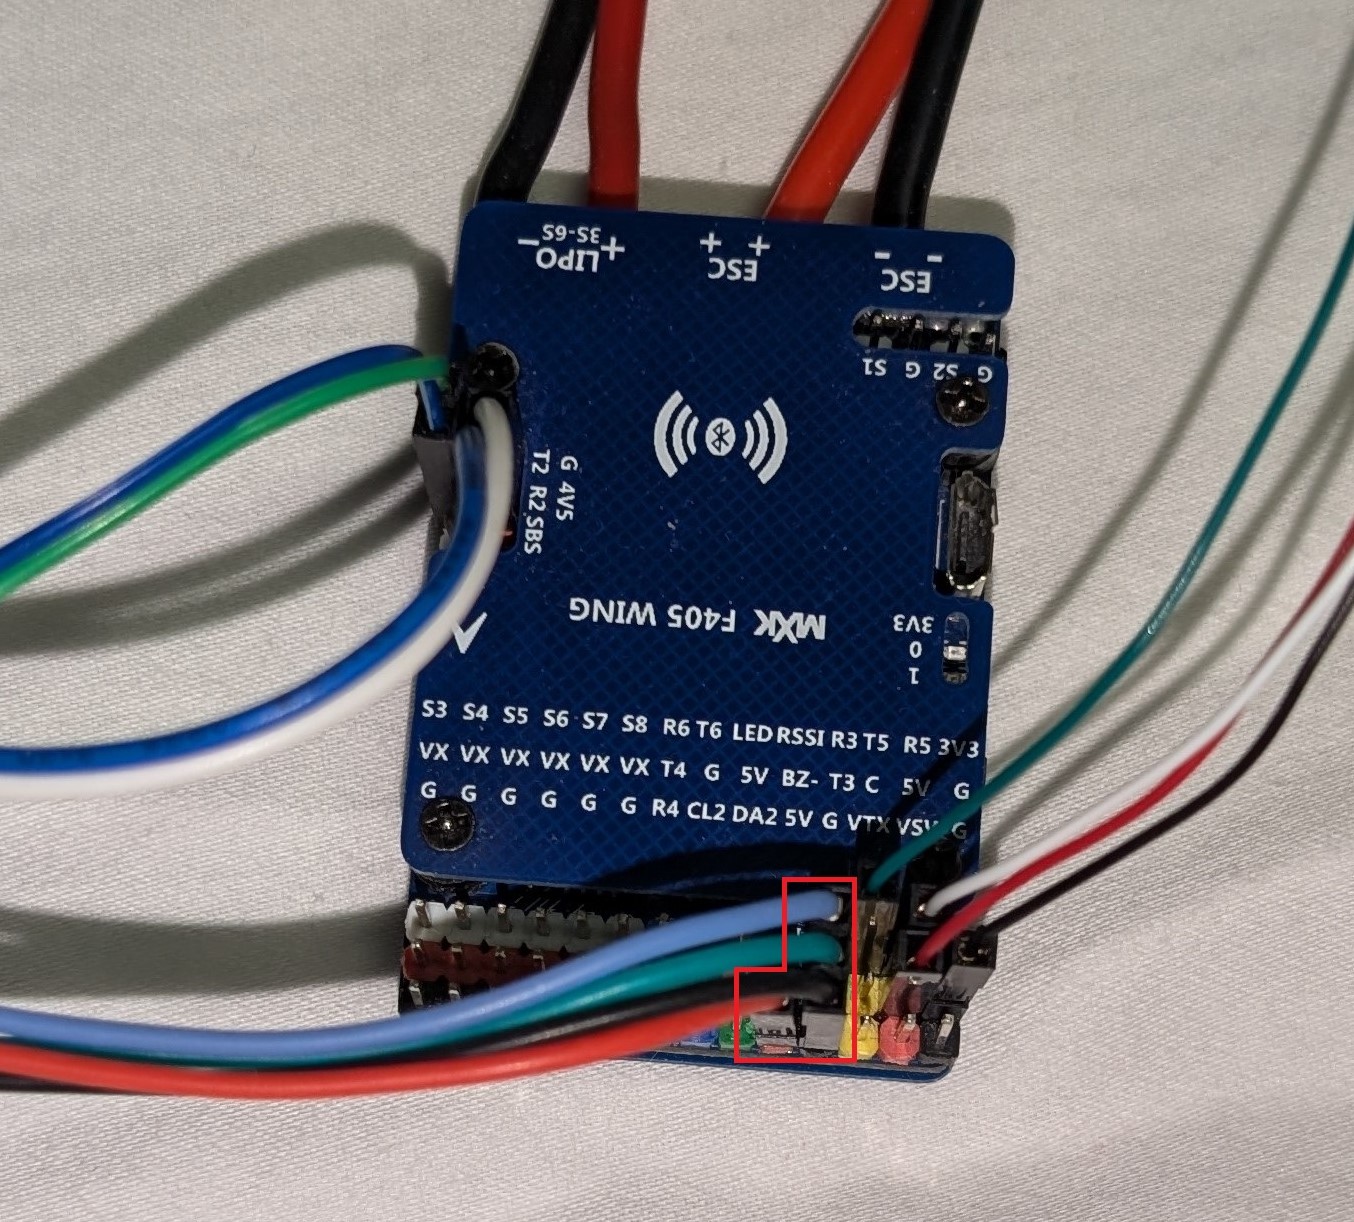
If your flight controller has those 4 pins in that order, you can plug the cable in as-is. Most Matek airplane flight controllers have several rows of pins in that order.
If your flight controller has the pins in a different order, or if the pins are not all in one row, use the included cable ends to separate and rearrange the wires.
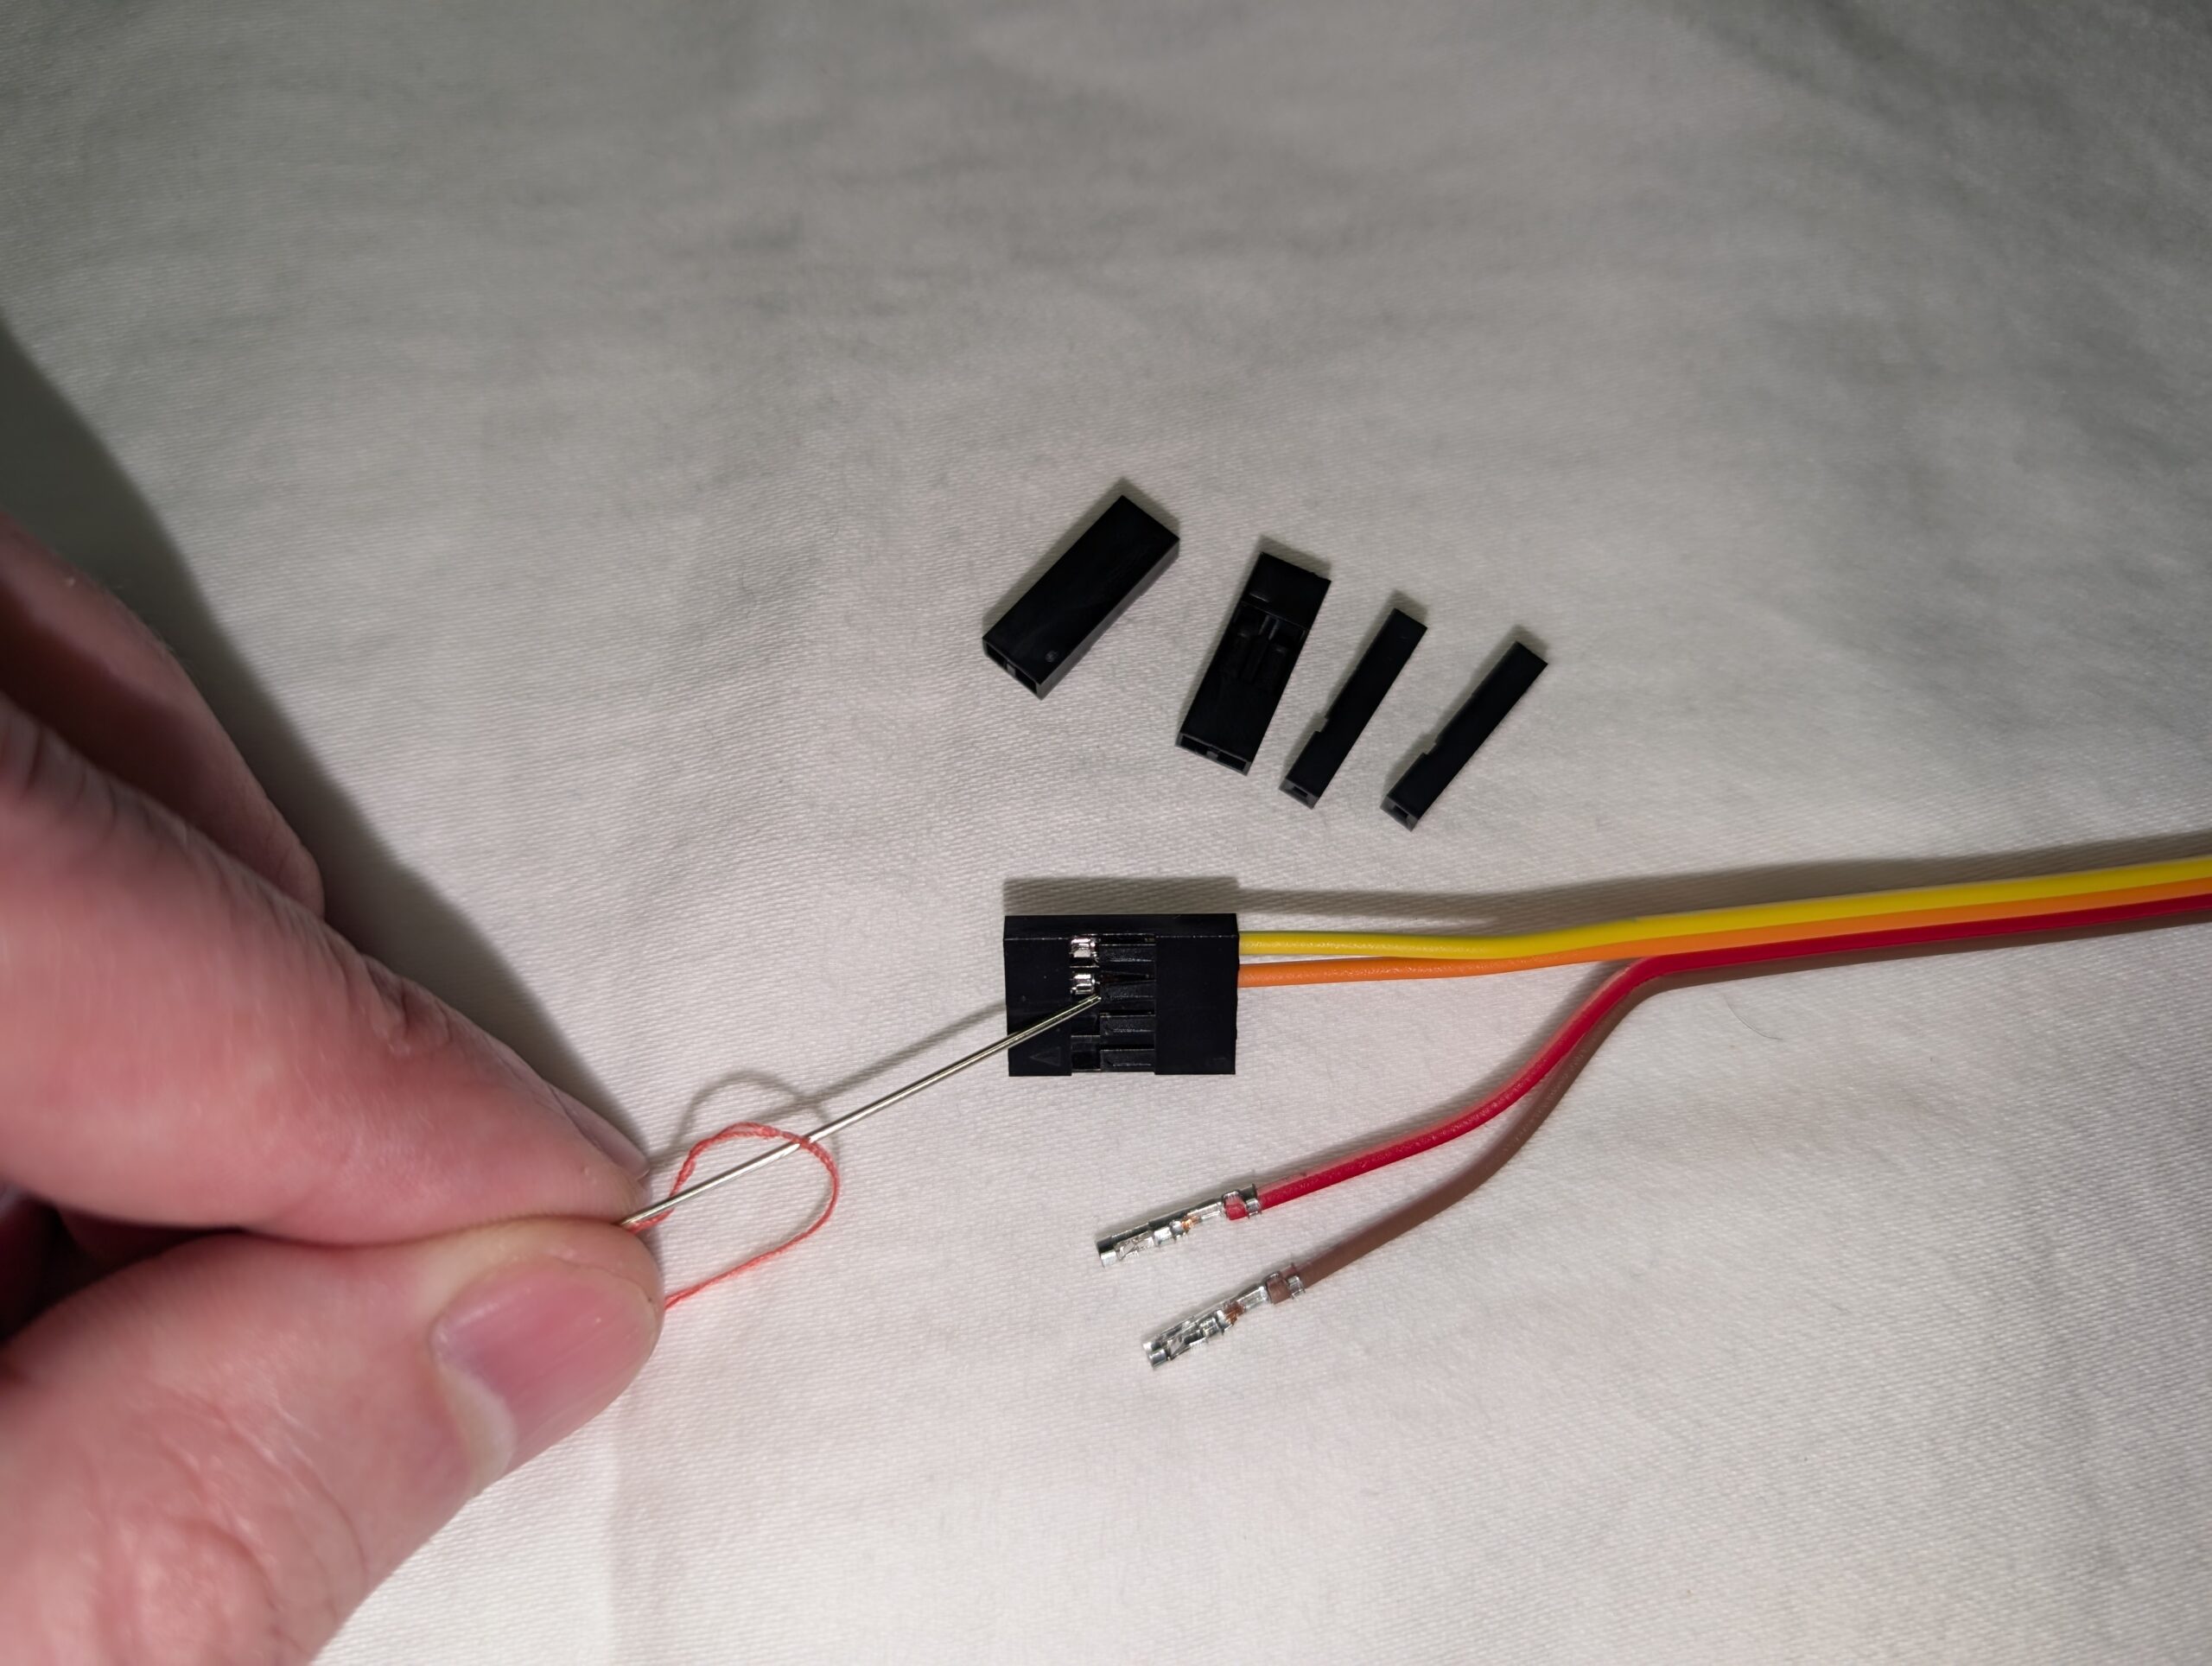
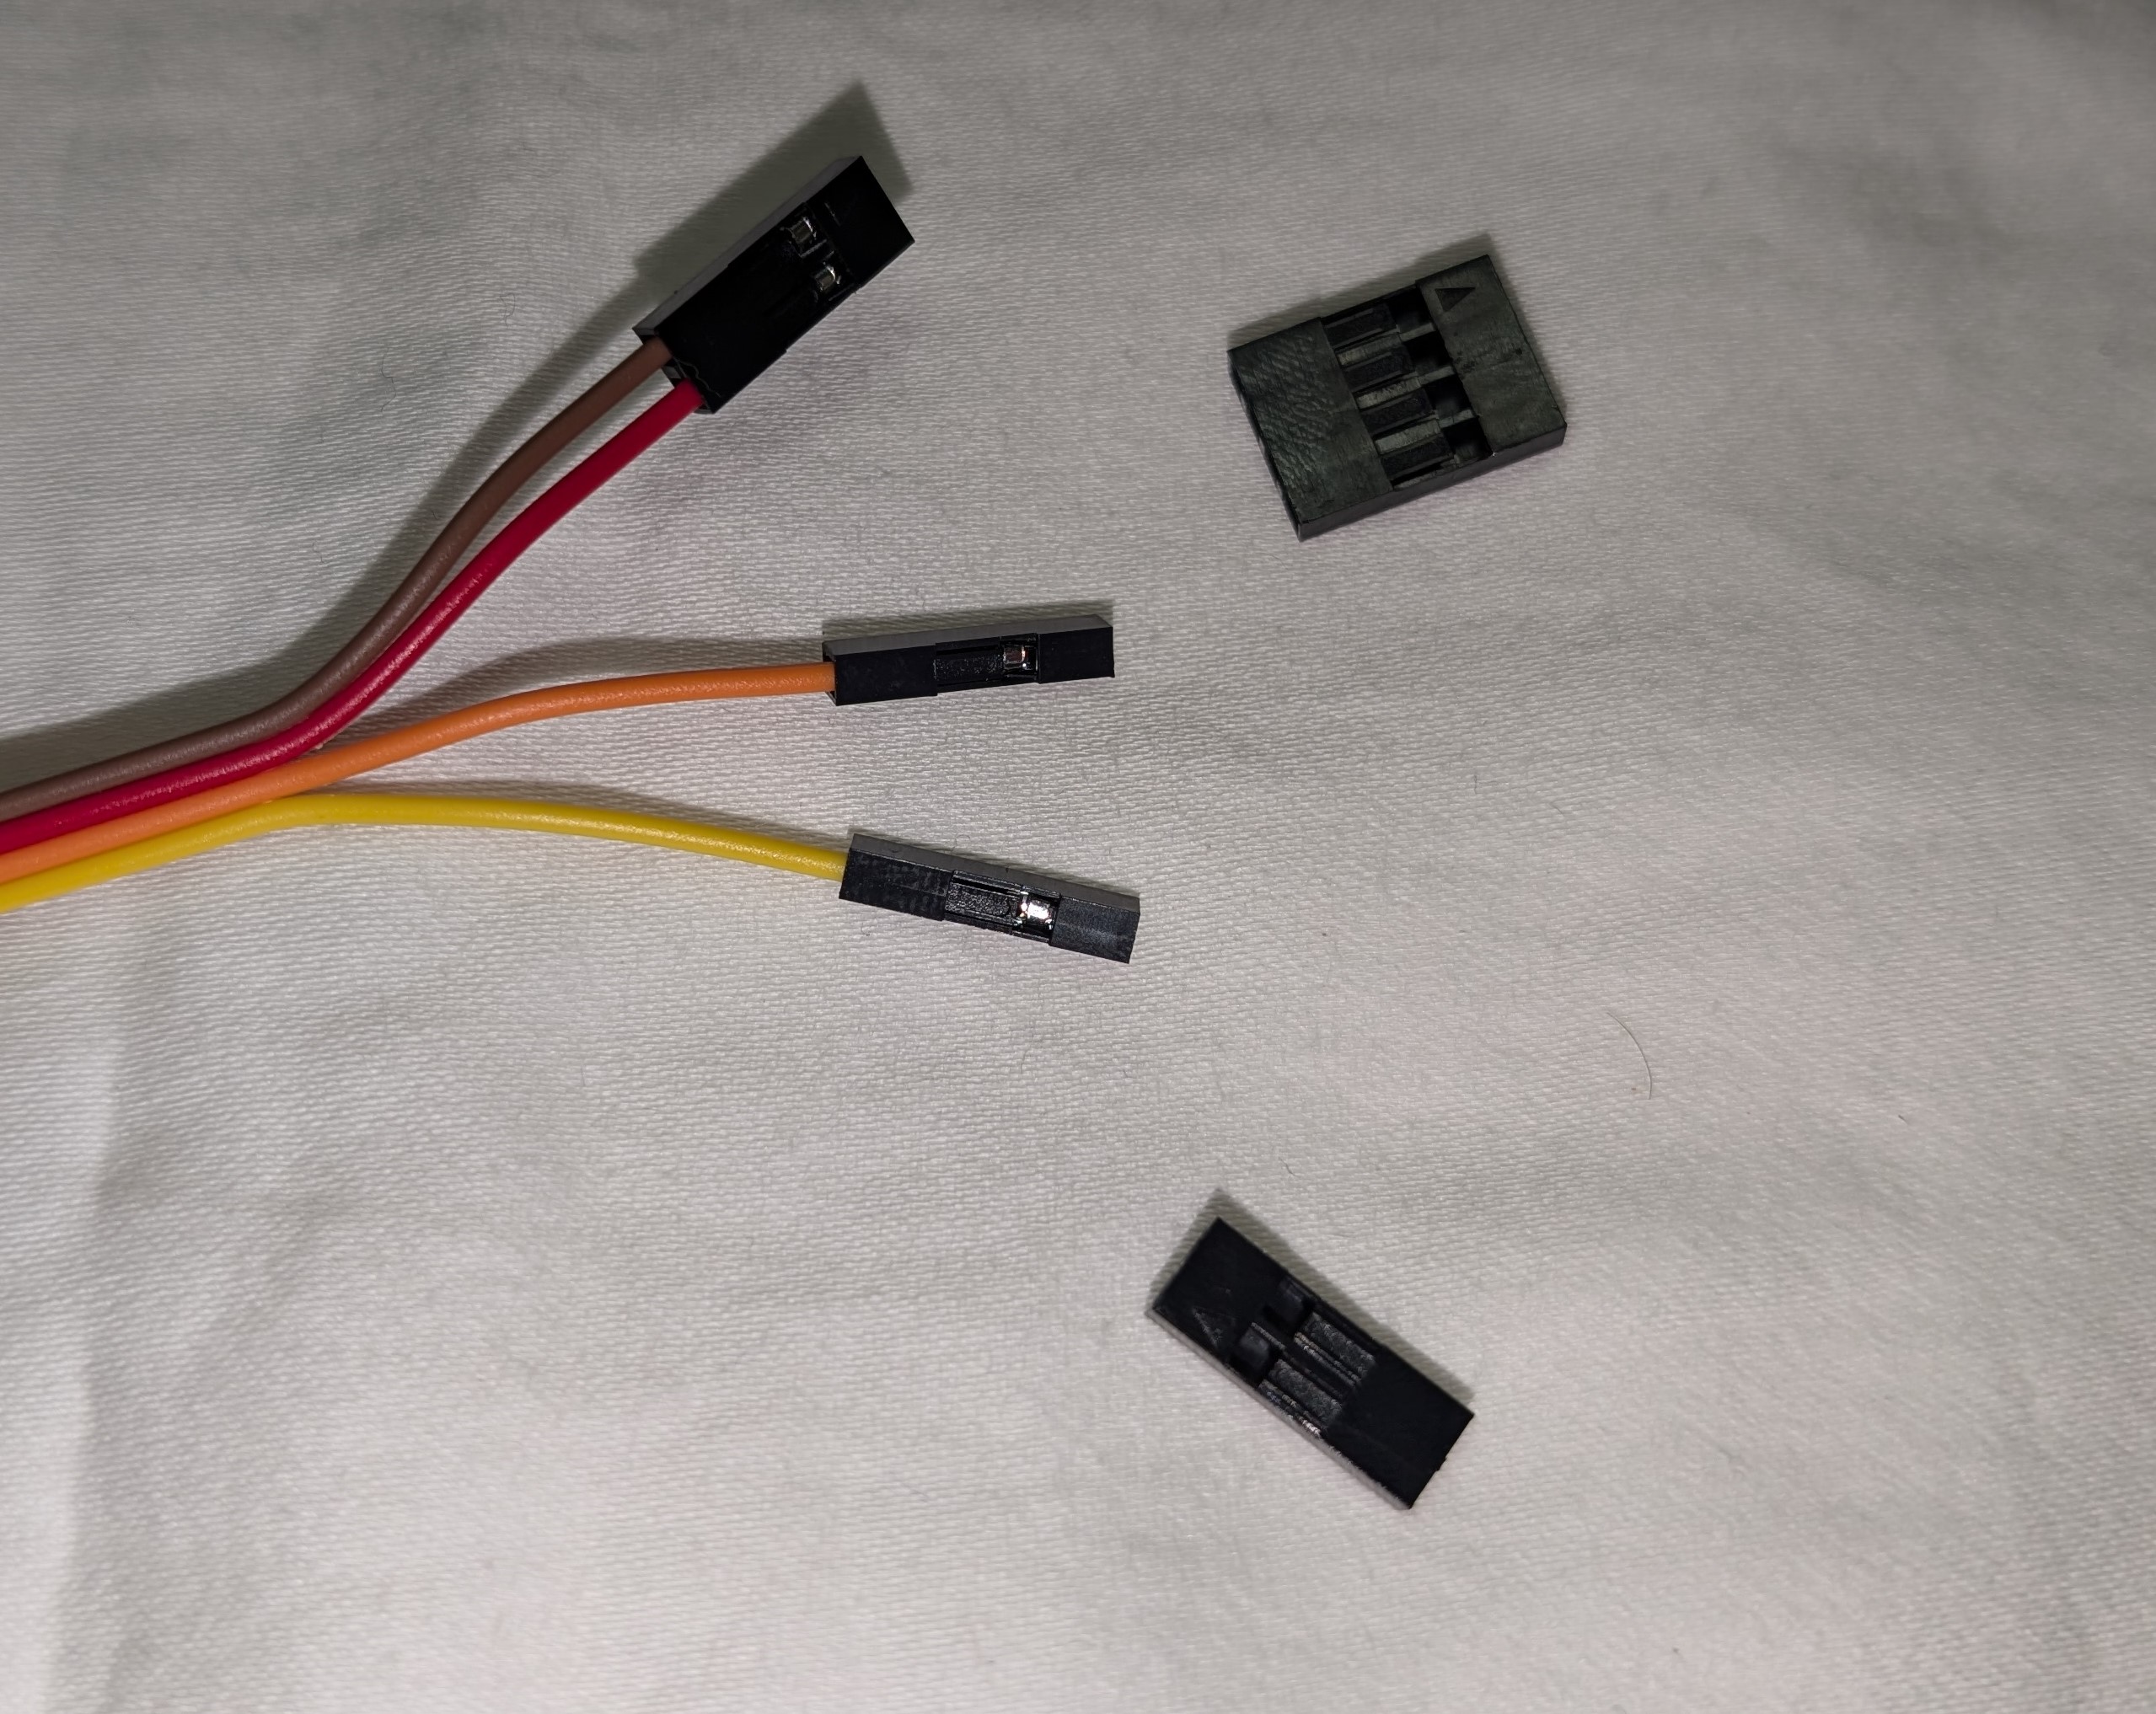
Plug The Cable Into The Flight Controller
Plug the cable into power and UART pins on your flight controller. Make sure the wiring order is correct before powering the controller.
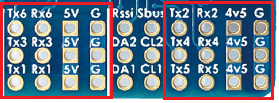
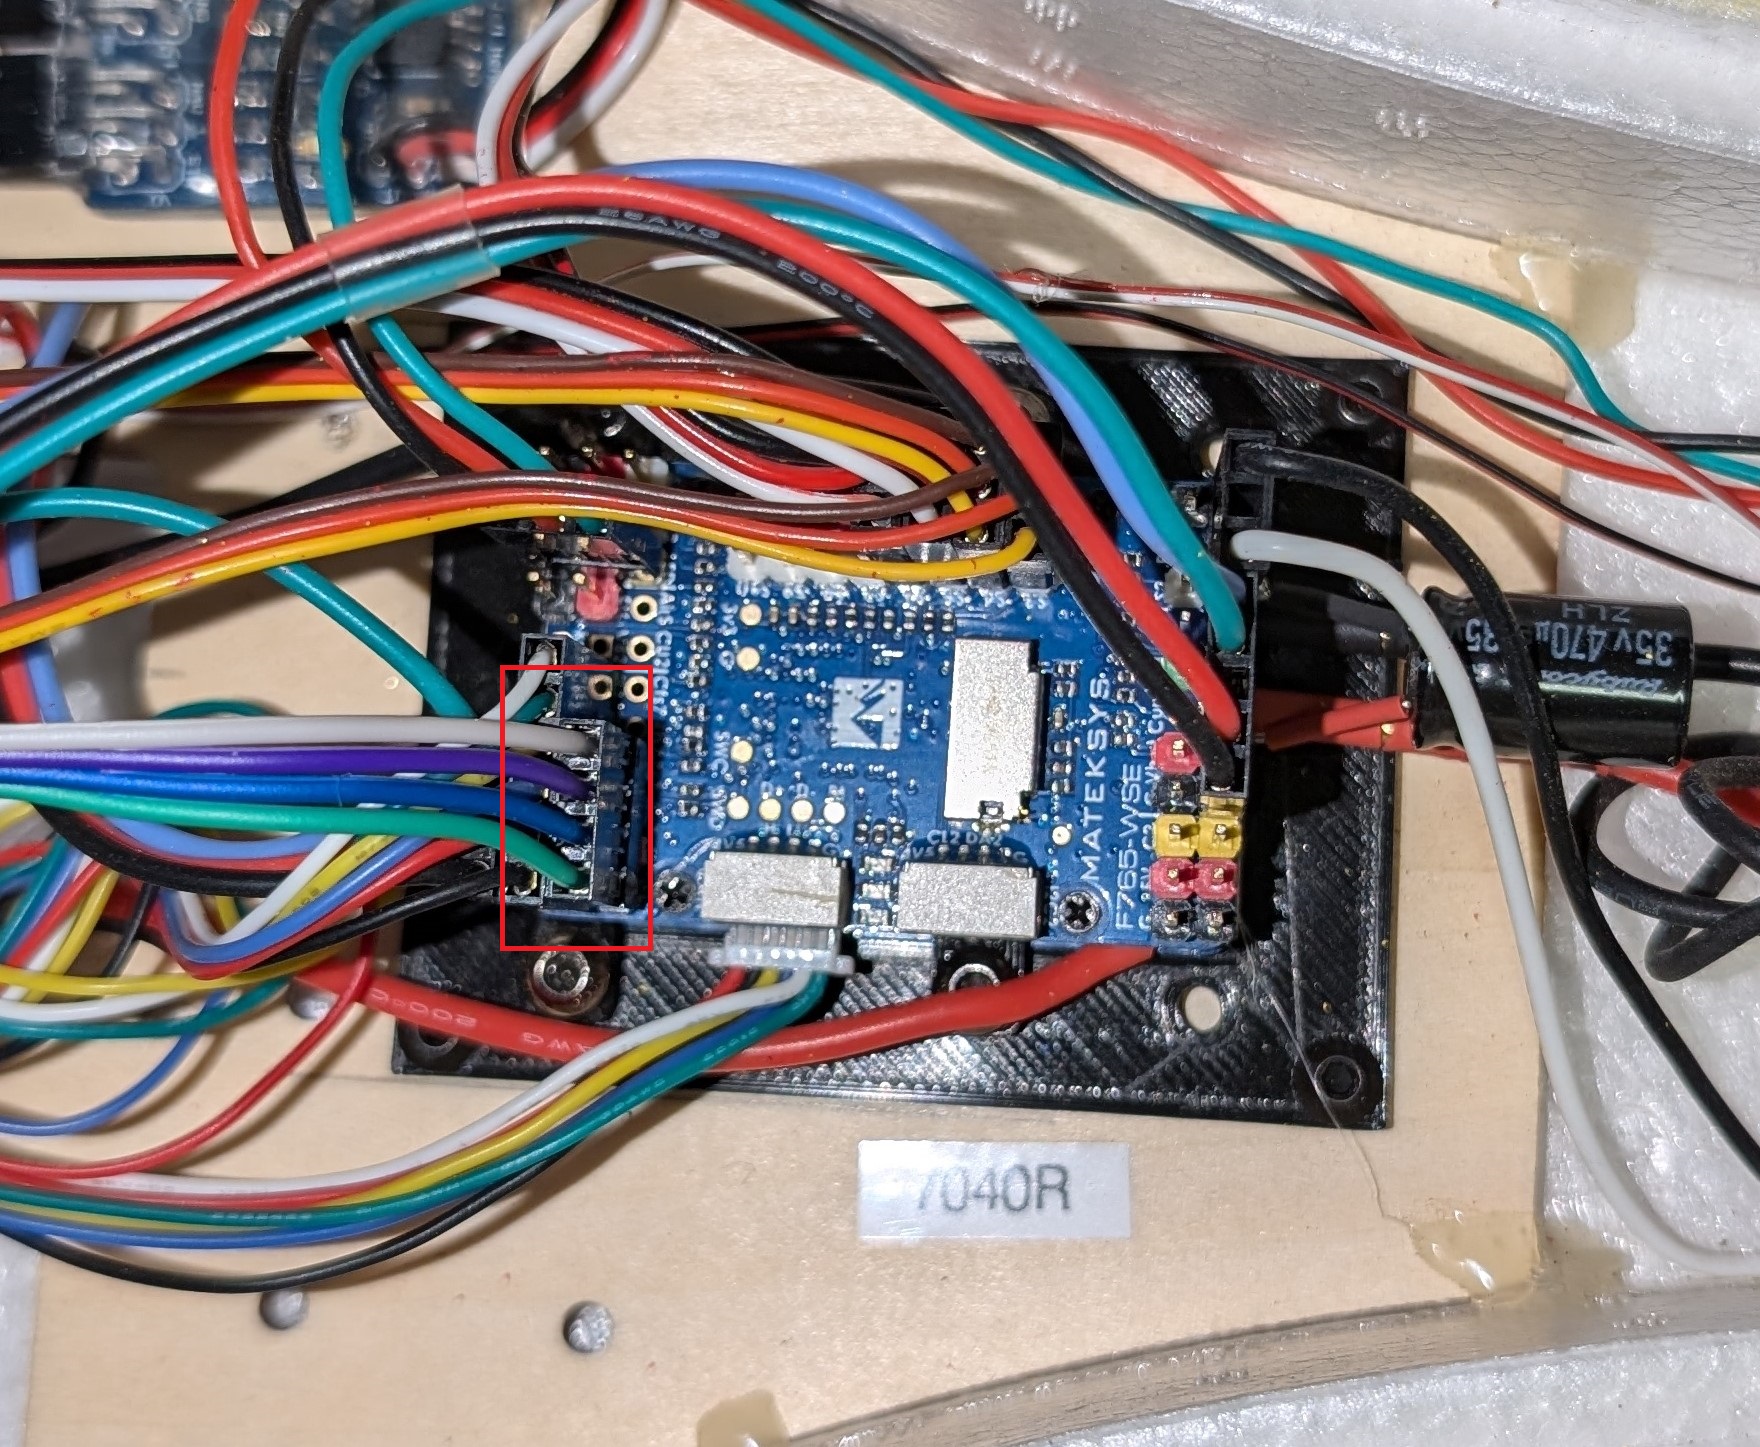
Configure iNav
In iNav Configurator, set your UART port to the MSP protocol, set the speed to 115200, and save.
Note: iNav only allows 3 ports to be set to MSP.
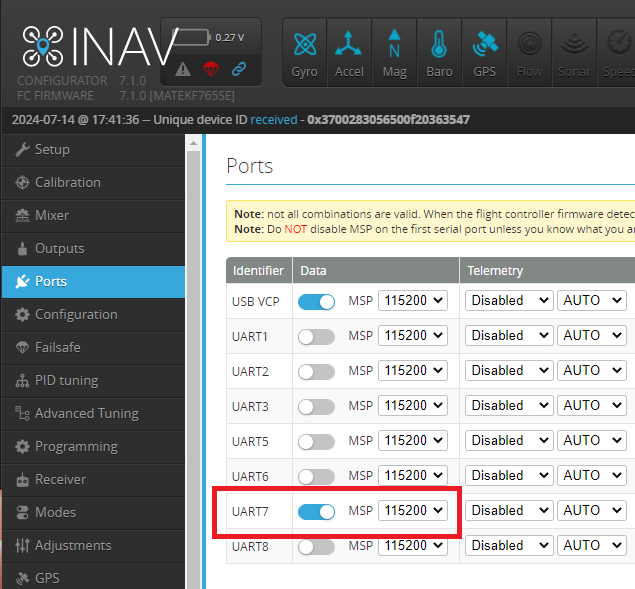
Make sure MSP is the only option selected. Everything else must be Disabled.

Go Fly
After the screens are connected, the controller is configured, and the flight controller UART is set to MSP, the cockpit display system is ready to use.